Round yoke baby crochet cardigan: free pattern and tutorial

Descargá esta entrada en PDF Descargá esta entrada en PDF!
Download PDF

Round yoke baby crochet cardigan free pattern and tutorial

Today I want to show you this baby crochet cardigan that I made for my youngest daughter. I just loved this project. The round yoke gives it a feminine and original touch. 

This is a very simple project once you learn how to crochet the yoke, especially when you have to divide it into fronts, back and sleeves. This step is similar to what we learned in the tutorial of the little girl crochet cardigan, the only difference is that in this project I crocheted 2 dc instead of 1 into de joining stitches.

If you want to transform it into a sweater or jacket, you just have to continue crocheting 1 dc into each of the 26 stitches that we leave for the sleeves. 

To increase the size, repeat rows 6 and 7 until you reach the desire size for the yoke. From there the rest of the steps are the same, only changes the number of stitches.

To make you easier to understand it, here you can see the tutorial:

Round yoke baby crochet cardigan free pattern and tutorial Round yoke baby crochet cardigan free pattern and tutorial Round yoke baby crochet cardigan free pattern and tutorial Round yoke baby crochet cardigan free pattern and tutorial Round yoke baby crochet cardigan free pattern and tutorial Round yoke baby crochet cardigan free pattern and tutorial Round yoke baby crochet cardigan free pattern and tutorial Round yoke baby crochet cardigan free pattern and tutorial Round yoke baby crochet cardigan free pattern and tutorial Round yoke baby crochet cardigan free pattern and tutorial Round yoke baby crochet cardigan free pattern and tutorial Round yoke baby crochet cardigan free pattern and tutorialHere you can see the charted pattern:

Round yoke baby crochet cardigan free pattern and tutorial2
Round yoke baby crochet cardigan free pattern and tutorial3

I hope you like it. Don´t forget to send me the pictures of your projects using this pattern to soledad@mundocrochet.com o share them in the facebook page of Mundo Crochet!

Versión en español.

Regards

Soledad

Crochet baktus: free pattern

Descargá esta entrada en PDF Descargá esta entrada en PDF!
Download PDF

Crochet baktus free pattern01

In this new post I want to show you this baktus crocheted using the (3dc, ch1, 3 dc) shell stitch.

This is a fast and simple project that only uses 120 grs. of yarn. It also has the particularity that is an easy pattern to follow, since you crochet in a continuous way: each row begins  with a shell and ends with half a shell. To continue you just have to ch 6 and begin a new row.

Here you can see the written instructions:


Ch 199 (multiple of 8 + 7).

Rows:

1-Insert hook into the 7th ch from hook and crochet (3 dc, ch 1, 3 dc), *ch 3, skip 7 ch, insert hook into the 8th ch and crochet (3 dc, ch 1, 3 dc). Repeat from * until end, except in the last ch where you have to crochet 3 dc.

2-Ch 6, (3 dc, ch 1, 3 dc) into the ch 1 space of the pevious row. *(3 dc, ch 1, 3 dc) in the next sp. Repeat from * until end, except in the last ch where you have to crochet 3 dc.

3 to 23-Repeat row 2.

24- Ch 6, (3 dc, ch 1, 3 dc) into the ch 1 space of the pevious row. Ch 6, sl st into the next ch 1 space of the previous row.

Edge:

1-Starting in the ch 6 sp of the 1st row of the body. Ch 1, 1 sc into the ch 6 sp, *ch 4, 1 sc into the ch 1 sp of the body, ch 4, 1 sc into the next ch 6 sp, ch 4, 1 sc into the same sp. Repeat from until end, except in corners, where you have to ch 6 instead of 4 (see chart bellow). Sl st into de 1st sc.

 2-Ch 1, (1 sc, 2 hdc, 1 sc) in each ch 4 sp of the previos row, except in corners, where you have to ch 3 before and then continue with (1 sc, 2 hdc, 1 sc). Sl st into de 1st sc.


Here you can see the charted pattern:

Crochet baktus free pattern02

Crochet baktus free pattern03

I hope you like it. Don´t forget to send me the pictures of your projects using this pattern to soledad@mundocrochet.com o share them in the facebook page of Mundo Crochet!

Versión en español.

Regards

Soledad

Popcorn crochet stitch hat: Free pattern

Descargá esta entrada en PDF Descargá esta entrada en PDF!
Download PDF

Popcorn crochet stitch hat

In this post, I want to show you this hat crocheted for daughter Constanza. She loves pink, so I decided to crochet her a hat in her favorite colour.

It is simple to crochet, and it only uses the popcorn stitch so, if you have been practicing this stitch, this hat will be easy and quick to crochet. The stitch gives a nice effect of volume. I loved it!

Here you can see the written instructions:


Begin with a magic circle.

Rounds:

1-Ch 2 (counts as 1st hdc), 7 hdc. sl st in top of the first hdc of the round. Total: 8 hdc.

2-Ch 3, (1 popcorn st, 1 ch) in the 1st st. Repeat 7 times. Sl st in top of the first popcorn st of the round. Total: 8 popcorn st separated by a chain. Sl st into the ch 1 space to begin the next round.

3-Ch 3, (1 popcorn st, 1 ch, 1 popcorn st, 1 ch) into the ch1 space of the previous round. Repeat 7 times. Sl st in top of the first popcorn st of the round. Total: 16 popcorn st separated by a chain. Sl st into the ch 1 space to begin the next round.

4-Ch 3, *(1 popcorn st, 1 ch) into the firt 2 ch 1 spaces of the previous round. (1 popcorn st, 1 ch, 1 popcorn st, 1 ch) into the next ch 1 space. Repeat from * 4 times. (1 popcorn st, 1 ch) into the last ch 1 space. Sl st in top of the first popcorn st of the round. Total: 21 popcorn st separated by a chain. Sl st into the ch 1 space to begin the next round.

5- Ch 3, (1 popcorn st, 1 ch) in each ch 1 space of the previous round. Sl st in top of the first popcorn st of the round. Total: 21 popcorn st separated by a chain.

6 to 11- Repeat round 5.

12-Ch 1. 1 sc in the 1st popcorn st of the previous round, 2 sc into the ch 1 space. Repeat until end. Sl st in the 1st sc of the round.

13-Ch1, 1 sc in the back loop of every sc of the previous round. Sl st in the 1st sc of the round.

14 to 15-Repeat round 13.      


Here you can see the charted pattern:

Popcorn crochet stitch hat

Popcorn crochet stitch hat

I hope you like it. Don´t forget to send me the pictures of your projects using this pattern to soledad@mundocrochet.com o share them in the facebook page of Mundo Crochet!

Versión en español.

Regards

Soledad

How to join granny squares. Method 1: joining as you go with slip stitch

Descargá esta entrada en PDF Descargá esta entrada en PDF!
Download PDF

how to join granny squares

In a previous post we learn how to crochet a granny square. I hope you have practiced, because today I want to show you how to join these squares.

On the web, in magazines or books you can find many ways or methods to join granny squares. Basically, these methods can be divided into two groups: those which join squares as you go; and those in which the squares are crocheted first and then joined. The advantage of the first group is that we avoid the joining procedure after we crochet the squares, especially when you are crocheting a project, which involves joining several squares (for instance, for a blanket). The advantage of the second group is that the joining gives a nice touch, especially if it is crocheted in colours that highlight the joining or the colours of the squares.

Today I will show you a method of joining the squares as you go. In the next posts I will show you the other methods. 

Here you can see the tutorial:

How to join granny squares1

cHow to join granny squares2

How to join granny squares3

How to join granny squares4

How to join granny squares5

How to join granny squares6

How to join granny squares7

cHow to join granny squares8

How to join granny squares9

How to join granny squares10

How to join granny squares11

How to join granny squares12

How to join granny squares13

How to join granny squares14

How to join granny squares15


How to join granny squares16

Here you can see the chart for the joining. The arrows indicate the points where you have to crochet a slip stitch.

How to join granny squares

I hope you like it. Don´t forget to send me the pictures of your projects using the pattern of the blog to soledad@mundocrochet.com o share them in the facebook page of Mundo Crochet!

Versión en español.

Regards

Soledad


How to Crochet a granny square: tutorial and charted pattern

Descargá esta entrada en PDF Descargá esta entrada en PDF!
Download PDF

How to Crochet a granny square

We all know that when you are learning to Crochet even the simplest and easiest project, in practice, may not be so. 

In this post I want to show you how to crochet a granny square. This is an ideal project for beginners, since you only have to able to double crochet, chain and slip stitch; you can crochet using only one colour o different colours, resulting in many different color combinations; you can crochet several small grannies and most importantly: grannies can be joined for a variety of projects: scarves, purses, coasters, pot holders, shirts, jackets, blankets …

In the next posts I will show you how to join granny squares to crochet this projects.

But first we will learn how to crochet our first granny square:

How to Crochet a granny square

How to Crochet a granny square

How to Crochet a granny square

How to Crochet a granny square

How to Crochet a granny square

How to Crochet a granny square

How to Crochet a granny square

How to Crochet a granny square

How to Crochet a granny square

How to Crochet a granny square

How to Crochet a granny square

How to Crochet a granny square

How to Crochet a granny square

How to Crochet a granny square

Here you can see the charted pattern of the granny square:

How to Crochet a granny square

I hope you enjoyed this tutorial and begin to include granny squares in your next projects.

Versión en español.

Regards

Soledad

Baby crochet cardigan: Free pattern

Descargá esta entrada en PDF Descargá esta entrada en PDF!
Download PDF

Baby crochet cardigan or sweater

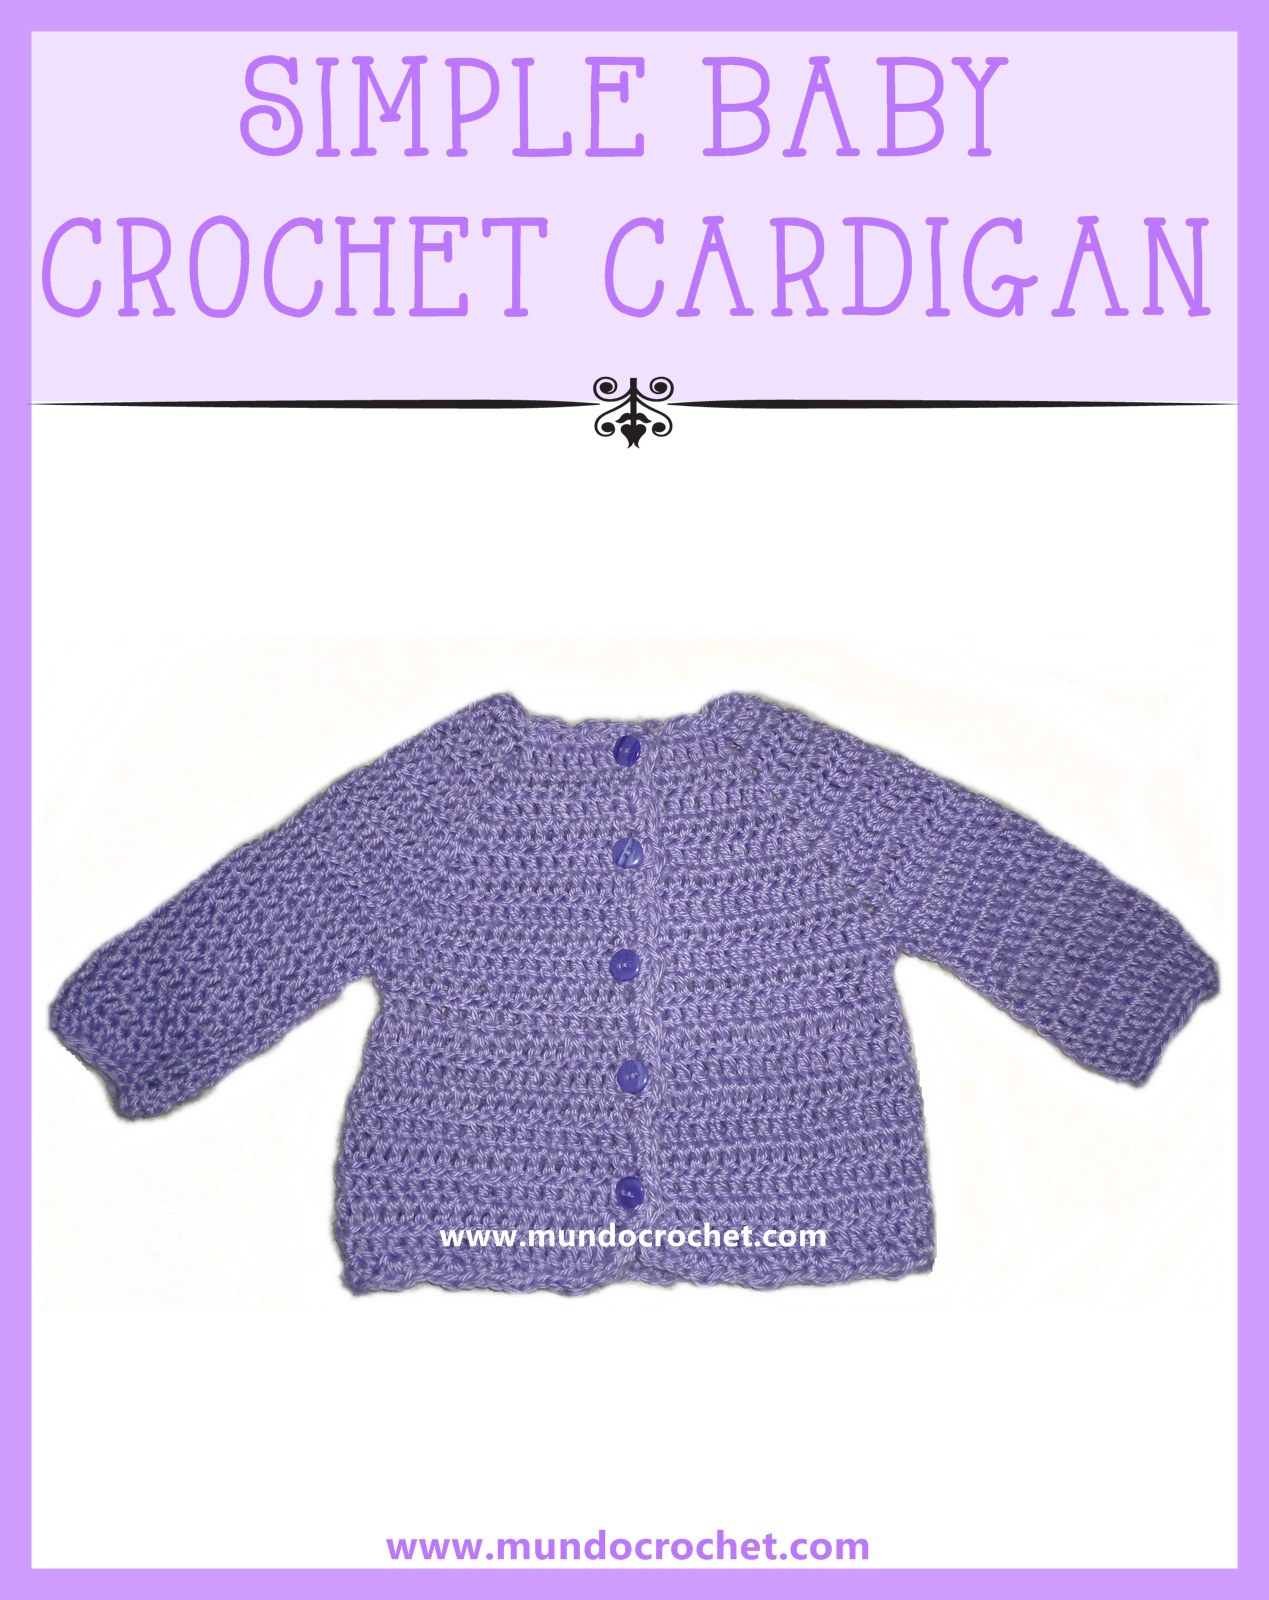
In this new post, I want to show you this baby cardigan crocheted for my little niece Joaquina, that was born a month and a half ago.

First you crochet the yoke and then the body. It´s a very feminine and colorful project.

Here you can see the written instructions:


Yoke:

Row 1) Ch 57.

1 dc in the 5th ch from hook, 1 dc in each of the next 7 ch. Total: 9 dc (these stitches will form the left front side).

Ch 2, 9 dc in the next 9 ch. Total: 9 dc (left sleeve).

Ch 2, 18 dc in the next 18 ch. Total: 18 dc (back).

Ch 2, 9 dc in the next 9 ch. Total: 9 dc (right sleeve).

Ch 2, 9 dc in the next 9 ch. Total: 9 dc (right front).

Row 2) Ch 3 (counts as first dc), 1 dc in each stitch of the previous row. In the ch 2 spaces crochet (1 dc, ch 2, 1 dc). Repeat until end. Total: 62 dc.

Rows 3 to 9) Repeat row 2.

Total 70, 78, 86, 94, 102, 110 and 118 dc each.

Row 10) Ch 3 (counts as first dc), 1 dc in each stitch of the previous row. 2 dc in the ch 2 spaces. Repeat until end. Total: 126 dc.

In the row 11 we will divide the yoke into: fronts (18 dc each), sleeves (27 dc each) and back (36 dc).

Body:

Row 11) Ch 3 (counts as first dc), 1 dc in the next 16 stitches. Mark the 18th stitch, skip the next 27 stitches (sleeve). To make the dc for the beginning of the back, insert the hook into both, the 18th and the 46st, and finish working the dc as usual. 34 dc in the next 34 stitches.  Mark the 81st stitch, skip the next 27 stitches (sleeve). To make the dc for the beginning of the right front, insert the hook into both, the 81st and the 109th, and finish working the dc as usual. 17 dc in the next 17 stitches. Total: 70 dc.

You can see the tutorial in the post of the Little girl crochet cardigan.

Row 12) Ch 3 (counts as 1st dc of the row). 1 dc in the 4th st. *Ch 2, skip 3 st, (1 sc, ch 3, 1 sc) in the 4th st. Ch 2, skip 3 st, 3 dc in the 4 th st. Repeat from * until end. In the last st crochet 2 dc instead of 3.

Often the fantasy stitch is a multiple of a number that does not match with the number of stitches that you have in the yoke, so instead of 2 dc you finish with (1sc 3ch 1sc). You need 4 more stithes to finish the row with 2 dc.
To do that you have to crochet the row 12 skipping 2 stitches instead of 3 between the 3 dc and the (1sc 3 ch 1sc) 4 times. The rest of the row continue skipping 3 stitches.
You can do this at the beginning, end or middle of your work (I prefer 2 times at the beginning and 2 at the end).

Row 13) Ch 1, (1 sc, ch 3, 1 sc) in the 1st st. *Ch 2, 3 dc in the ch 3 space, ch 2, (1sc, ch 3, 1 sc) in the 2nd dc of the previous row. Repeat from *a until end. Crochet the last (1sc, ch 3, 1 sc) group in the last st of the row.

Row 14) Ch 3 (counts as 1st dc of the row). 1 dc in the ch 3 space of the previous row. *Ch 2, (1 sc, ch 3, 1 sc) in the 2nd dc. Ch 2, 3 dc in the ch 3 space. Repeat from * until end. 1 dc in the last ch 3 space, 1 dc in the last st of the row.

Row 15) Ch 1, (1 sc, ch 3, 1 sc) in the 1st st. *Ch 2, 4 dc in the ch 3 space, ch 2, (1sc, ch 3, 1 sc) in the 2nd dc of the previous row. Repeat from *a until end. Crochet the last (1sc, ch 3, 1 sc) group in the last st of the row.

Row 16) Ch 3 (counts as 1st dc of the row). 2 dc in the ch 3 space of the previous row. *Ch 2, (1 sc, ch 3, 1 sc) between the 2nd and the 3rd dc of the previous row. Ch 2, 4 dc in the ch 3 space. Repeat from * until end. 2 dc in the last ch 3 space, 1 dc in the last st of the row.

Row 17) Ch 1, (1 sc, ch 3, 1 sc) in the 1st st. *Ch 2, 5 dc in the ch 3 space, ch 2, (1sc, ch 3, 1 sc) between the 2nd and the 3rd dc of the previous row. Repeat from *a until end. Crochet the last (1sc, ch 3, 1 sc) group in the last st of the row.

Row 18) Ch 3 (counts as 1st dc of the row). 2 dc in the ch 3 space of the previous row. *Ch 2, (1 sc, ch 3, 1 sc) in the 3rd dc of the previous row. Ch 2, 5 dc in the ch 3 space. Repeat from * until end. 2 dc in the last ch 3 space, 1 dc in the last st of the row.

Row 19) Ch 1, (1 sc, ch 3, 1 sc) in the 1st st. *Ch 2, 5 dc in the ch 3 space, ch 2, (1sc, ch 3, 1 sc) in the 3rd dc of the previous row. Repeat from *a until end. Crochet the last (1sc, ch 3, 1 sc) group in the last st of the row.

Rows 20 to 23) Repeat rows 18 and 19.

Body edge:

Row 24) Ch1, 2 sc in the ch 3 space, *1 dc, 1 hdc in the ch 2 space, skip the 1st dc of the shell , 3 sc in the next 3 st, skip the last dc. 1 hdc, 1 dc in the ch 2 space, 1 sc in the ch 3 space. Repeat from * until end. 2 sc in the last ch 3 space.

On the sides: 1 sc in one row, 2 sc in the next. When you reach the neck: 2 sc in the 1 st st, 1 sc in the next st. 2 sc in the last st of the neck. Sl st in the 1st st of the row.

Row 25) Ch, 1 sc in each st of the previous row. 2 sc in corners. Sl st in the 1st st of the row.

Row 26) Repeat row 25.

Sleeves:

Row 11) Ch 3 (counts as 1st dc of the row). 2 dc in the 4th st. *Ch 2, skip 3 st, (1 sc, ch 3, 1 sc) in the 4th st. Ch 2, skip 3 st, 3 dc in the 4 th st. Repeat from * until end. Sl st in the 1st st of the row.

Row 12) Ch 1, (1 sc, ch 3, 1 sc) in the 1st st. *Ch 2, 3 dc in the ch 3 space, ch 2, (1sc, ch 3, 1 sc) in the 2nd dc of the previous row. Repeat from *a until end. Sl st in the 1st st of the row.

Row 13) Ch 3 (counts as 1st dc of the row). 2 dc in the ch 3 space of the previous row. *Ch 2, (1 sc, ch 3, 1 sc) in the 2nd dc. Ch 2, 3 dc in the ch 3 space. Repeat from * until end. Sl st in the 1st st of the row.

Rows 14-20) Repeat rows 12 and 13.

Repeat for the other sleeve.

Edge of the sleeves:

Row 21) Ch 1, 1 sc in the 1 st st and each st of the round. Sl st in the 1st st of the row.

Rows 22-23) Repeat row 21.


Here you can see the charted pattern:

Baby crochet cardigan or sweater

Baby crochet cardigan or sweater

Baby crochet cardigan or sweater

Baby crochet cardigan or sweater

I hope you like it. Don´t forget to send me the pictures of your projects using this pattern to soledad@mundocrochet.com o share them in the facebook page of Mundo Crochet!

Versión en español.

Regards

Soledad


Crochet strawberry stitch: Free pattern and tutorial

Descargá esta entrada en PDF Descargá esta entrada en PDF!
Download PDF

Crochet strawberry stitch

In this post I want to show you this lovely stitch. I found it on the web as strawberry stitch. The original version is crocheted in Tunisian Crochet and from the first time I see it, I knew that I have to try it in regular crochet. This is the final result.

It´s very easy to crochet, only uses single and double crochet. The most dificult part are the changes of colour. I choose to hide the yarn of the colour that I wasn´t using behind the stitches while I was crocheting to avoid cutting the yarn in each row. This I recommend for small projects, for bigger projects or  if you just do not want to complicate, I recommend cutting the yarn and start each row with a new one. 

Here you can see the charted pattern of this stitch:

Crochet strawberry stitch

Here you can see the tutorial:

Crochet strawberry stitch

Crochet strawberry stitch

Crochet strawberry stitch

I hope you like it and try new projects using this colorful stitch. Don´t forget to send me the pictures of your projects using this pattern to soledad@mundocrochet.com o share them in the facebook page of Mundo Crochet!

Versión en español.

Regards

Soledad

Crochet striped hat for baby

Descargá esta entrada en PDF Descargá esta entrada en PDF!
Download PDF


Crochet striped hat for baby

Here you can see a new pattern. It´s a very simple and easy to follow crochet hat for baby crocheted in double and single crochet stitches. The size is 3-6 months.

It took a very little time to crochet it. Ideal for those moments when you ask yourself: ¿What can I do with so little yarn?

Here is the written pattern:


Begin with a magic circle.

Rounds: 1) Ch 3 (counts as first dc), 11 dc into ring, sl st in top of the first dc of the round. Total: 12 dc.

2) Ch 1, 2 sc in the same stitch. 2 sc in the next 11 dc. Sl st in the first sc of the round. Total: 24 sc.

3) Ch 3. 1 dc in each stitch of the previous round. Sl st in top of the first dc of the round. Total: 24 dc.

4) Ch 1, 1 sc in the first st. 2 sc in the next st. Repeat until end. Sl st in the first sc of the round. Total: 36 sc.

5) Ch 3, 1 dc in each stitch of the previous round. Sl st in top of the first dc of the round. Total: 36 dc.

6) Ch 1, 1 sc in the 1st and 2nd st. 2 sc in the next st. Repeat until end. Sl st in the first sc of the round. Total: 48 sc.

7) Ch 3, 1 dc in each stitch of the previous round. Sl st in top of the first dc of the round. Total: 48 dc.

8) Ch 1, 1 sc in each stitch of the previous round. Sl st in the first dc of the round. Total: 48 sc.

9 to 13) Repeat rounds 7 and 8.

14) Ch 2, 1 front post hdc in the 1st and 2nd st,  1 back post hdc in the 3rd and 4th st. Repeat until end. Sl st in the first dc of the round. Total: 48 hdc.

15 to 16) Repeat round 14.


Here you can see the charted pattern:

Crochet striped hat for baby

I hope you like it. Don´t forget to send me the pictures of your projects using this pattern to soledad@mundocrochet.com o share them in the facebook page of Mundo Crochet!

Versión en español.

Regards 

Soledad

Simple baby Crochet hat

Descargá esta entrada en PDF Descargá esta entrada en PDF!
Download PDF

Simple baby Crochet hat

In this new post I want to show you this beautiful baby crochet hat that matches with the baby crochet cardigan published in the previous post.

Like the cardigan, it is very easy to crochet. It uses the same stitches and the detail is in the two rounds of little ruffles that matches with the edge of the cardigan.

The size is 3 month old and I only use very little yarn. You can crochet the hat in one colour and the ruffles in another. Here you can see how they look together:

Simple baby Crochet hat

Here are the written instructions: 


Begin with a magic circle.

Rounds:

1) Ch 3 (counts as first dc), 11 dc into ring, sl st in top of the first dc of the round. Total: 12 dc.

2) Ch 3 (counts as first dc), 1 dc in the same stitch. 2 dc in the next 11 st. Sl st in top of the first dc of the round. Total: 24 dc.

3) Ch 3 (counts as first dc), 2 dc in next stitch. Repeat until end. Sl st in top of the first dc of the round. Total: 36 dc.

4) Ch 3 (counts as first dc), 1 dc in 2nd st, 2 dc in 3rd st. Repeat until end. Sl st in top of the first dc of the round. Total: 48 dc.

5 to 9) Ch 3 (counts as first dc), 1 dc in each st of the round. Sl st in top of the first dc of the round. Total: 48 dc.

10) Ch 3 (counts as first dc), 1 dc in each st of the round using only the back loop of the st. Sl st in top of the first dc of the round. Total: 48 dc.

11) Repeat round 11.

12) Ch 1, 1 sc in the same st. 1 sc in each st around. Sl st in the first sc of the round. Total: 48 sc.

13) Repeat round 12.  

The ruffles are crocheted in the 10th and 11th rounds using only the front loop of the st:

Round 10) Ch 1, sc in the same st, *skip 1 st, 3 hdc in the next st. Skip 1 st, 1 sc in the next st*. Repeat from *to* until end. Sl st in the fist sc of the round.

Round 11) Repeat round 10.


Here you can see the charted pattern:

Simple baby crochet hat

Simple baby crochet hat

I hope you like it. Don´t forget to send me the pictures of your projects using this pattern to soledad@mundocrochet.com o share them in the facebook page of Mundo Crochet!

Versión en español.

Regards

Soledad

Simple baby crochet cardigan

Descargá esta entrada en PDF Descargá esta entrada en PDF!
Download PDF

Simple baby crochet cardigan or sweater

The best way to start the week: with a new project!

It´s been a while since I published a new pattern, so I’m happy to show you this cardigan or sweater. It´s a very simple and easy project, ideal for beginners and for those who want to crochet something for baby using very little material.

This cardigan is size 3 months old and is crocheted with double crochet. Ideal to practice how to crochet a yoke.

Here you can see the written instructions:


Yoke:

Row 1) Ch 51.

1 dc in the 5th ch from hook, 1 dc in each of the next 6 ch. Total: 8 dc (these stitches will form the left front side). 

Ch 2, 8 dc in the next 8 ch. Total: 8 dc (left sleeve).

Ch 2, 16 dc in the next 16 ch. Total: 16 dc (back).

Ch 2, 8 dc in the next 8 ch. Total: 8 dc (right sleeve).

Ch 2, 8 dc in the next 8 ch. Total: 8 dc (right front).

Total: 48 dc.

Row 2) Ch 3 (counts as first dc), 1 dc in each stitch of the previous row. In the ch 2 spaces crochet (1 dc, ch 2, 1 dc). Repeat until end. Total: 56 dc.

Rows 3 to 8) Repeat row 2.

Total 64, 72, 80, 88, 96 and 104 dc each.

Row 9) Ch 3 (counts as first dc), 1 dc in each stitch of the previous row. In the ch 2 spaces crochet 2 dc. Repeat until end. Total: 112 dc.

In the row 10 we will divide the yoke into: fronts (16 dc each), sleeves (24 dc each) and back (32 dc).

Body:

Row 10) Ch 3 (counts as first dc), 14 dc in the next 14 stitches. Mark the 16th stitch, skip the next 24 stitches (sleeve). To make the dc for the beginning of the back, insert the hook into both, the 16th and the 41st, and finish working the dc as usual. 30 dc in the next 30 stitches.  Mark the 72nd stitch, skip the next 24 stitches (sleeve). To make the dc for the beginning of the right front, insert the hook into both, the 72nd and the 97th, and finish working the dc as usual. 15 dc in the next 15 stitches. Total: 62 dc.

You can see the tutorial in the post of the Little girl crochet cardigan.

Row 11) Ch 3 (counts as first dc), 1 dc in each stitch of the previous row. Total: 62 dc.

Row 12) Ch 3 (counts as first dc), 3 dc in the next 3 stitches.  2 dc in the 5th stitch of the row. Continue with 4 dc in the next 4 stitches and 2 dc in the 5th stitch until end. Total: 74 dc.

Rows 13 to 19) Ch 3 (counts as first dc), 1 dc in each stitch of the row until end. Total: 74 dc.

Edge of the body:

Ch 1, *1 sc in the same stitch, skip 1 st, 3 hdc in the next 3 st, skip 1 st* 1 sc. Repeat from *to* across fronts, back and neck. In the sides crochet 3 hdc in one row and 1 sc in the next (see chart).

Sleeves:

Row 10) To make the dc for the beginning of the sleeve, insert the hook into both, the first and the last stitch of the sleeve, and work 3 ch (counts as 1st dc). Work 22 dc in the next 22 stitches of the row. Join with sl st in the 1st dc. Total: 23 dc.

Rows 11 to 18) Repeat row 10.

Repeat for the other sleeve.

Edge of the sleeves:

Ch 1, 1 sc in the same st. Continue working 1 sc in each stitch of the row. Join with sl st in the 1st sc.


Here you can see the charted pattern:

Simple baby crochet cardigan or sweater


Simple baby crochet cardigan

Simple baby crochet cardigan

I hope you like it. Don´t forget to send me the pictures of your projects to soledad@mundocrochet.com o share them in the facebook page of Mundo Crochet!

Versión en español.

Regards

Soledad